SAML with Azure
This supplements the Configuring your IdP server portion of the Configuring SAML 2.0 docs using Azure as your identity provider (IdP). Please ensure you've already read and understand the concepts in the Configuring SAML 2.0 documentation before continuing.
This guide assumes you have already configured your Azure account and have access to the Azure portal.
This is a brief guide to the general steps you'll need to take to configure your Azure AD application to integrate with the Innovative Educators SAML 2.0 SP. Please see the Azure Docs for SAML Claim Customization if you require more details.
Configure the SAML IdP
Create the application
- In the Azure AD portal, select Enterprise applications. Then, click Create your Own Application.
- Give it a name and then select the "integrate any other application..." option and create.
Configure the application
- In the Manage section of the application, select Single sign-on to open the Single sign-on pane for editing.
- Upload the metadata file you received from IE. This will auto populate most of the SAML configuration that you'll need.

If uploading an XLM file (instead of utilizing a live hosted URL) like the screenshot above, we recommend removing the validUntil property and value to avoid any potential issues that may arise from an IdP acting on the expiration date of the metadata file.
Working with attribute and claims
Please refer to the SAML 2.0 documentation for requirements and recommendations regarding attributes and claims.
This is how Azure will know what to send along with the User authentication via SAML
To edit a claim
Simpley click on the pencil icon next to the claim you want to edit.
To add a new claim
- Click
Add New Claimto bring up the manage claim dialog. - Give the claim an identifying
name Namespacecan be the attribute name (the key for the value passed to the SP). We're able to match whatever namespace pass passed on the SP side.Sourceshould be attribute.Source attributeis the key matching the user value you'd like to include.

To add a claim as a static attribute (e.g. studentLicenseId)
- In the
Source Attributefield, add the studentLicenseId (provided by IE) in plain text, instead of matching an already defined attribute key. You'll know it's a static value if Azure surrounds it in quotes.
Configure the NameId
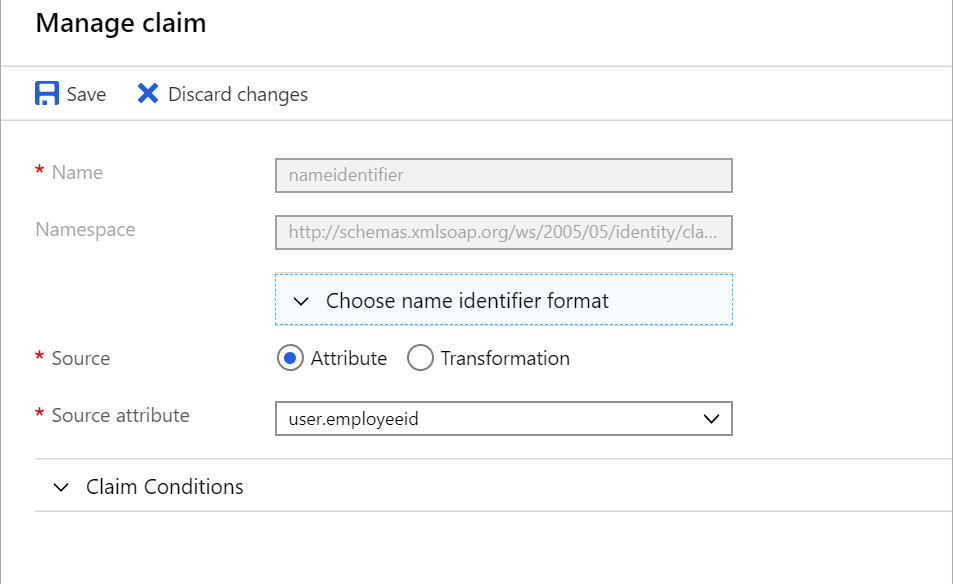
The Name Identifier is the unique ID that will identify SAML users coming from the IdP (identity provider). To edit it in Azure, click the pencil icon next to the claim.

Recommended way to make the NameID unique
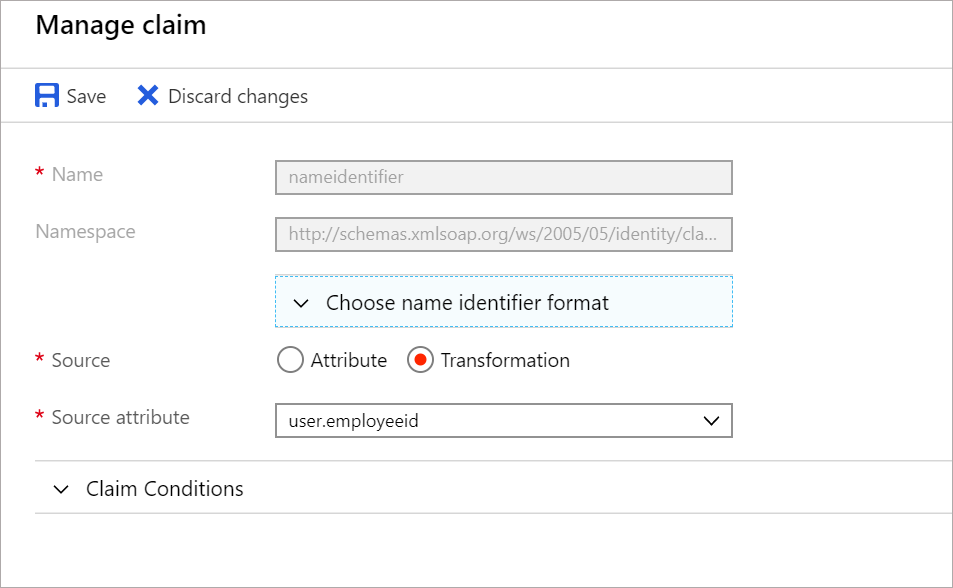
- From the claim editor, change the
sourceproperty toTransformationby selecting the radio button

- Then change the following perameters:
TransformationtoJoin()Parameter 1to the attribute matching a unique-to-your-institution learner IDParameter 2to the static value of the @ + your domain name like the example screenshot below. Azure will put your string in quotes (like the studentLicenseId above) if it recognizes your input as a static value.

- Then click save and you're all set!